Open Account
Onboard your business and go live with ePay in a few steps.
Open Account
Follow these steps to create your ePay merchant account, integrate the API, and go live.
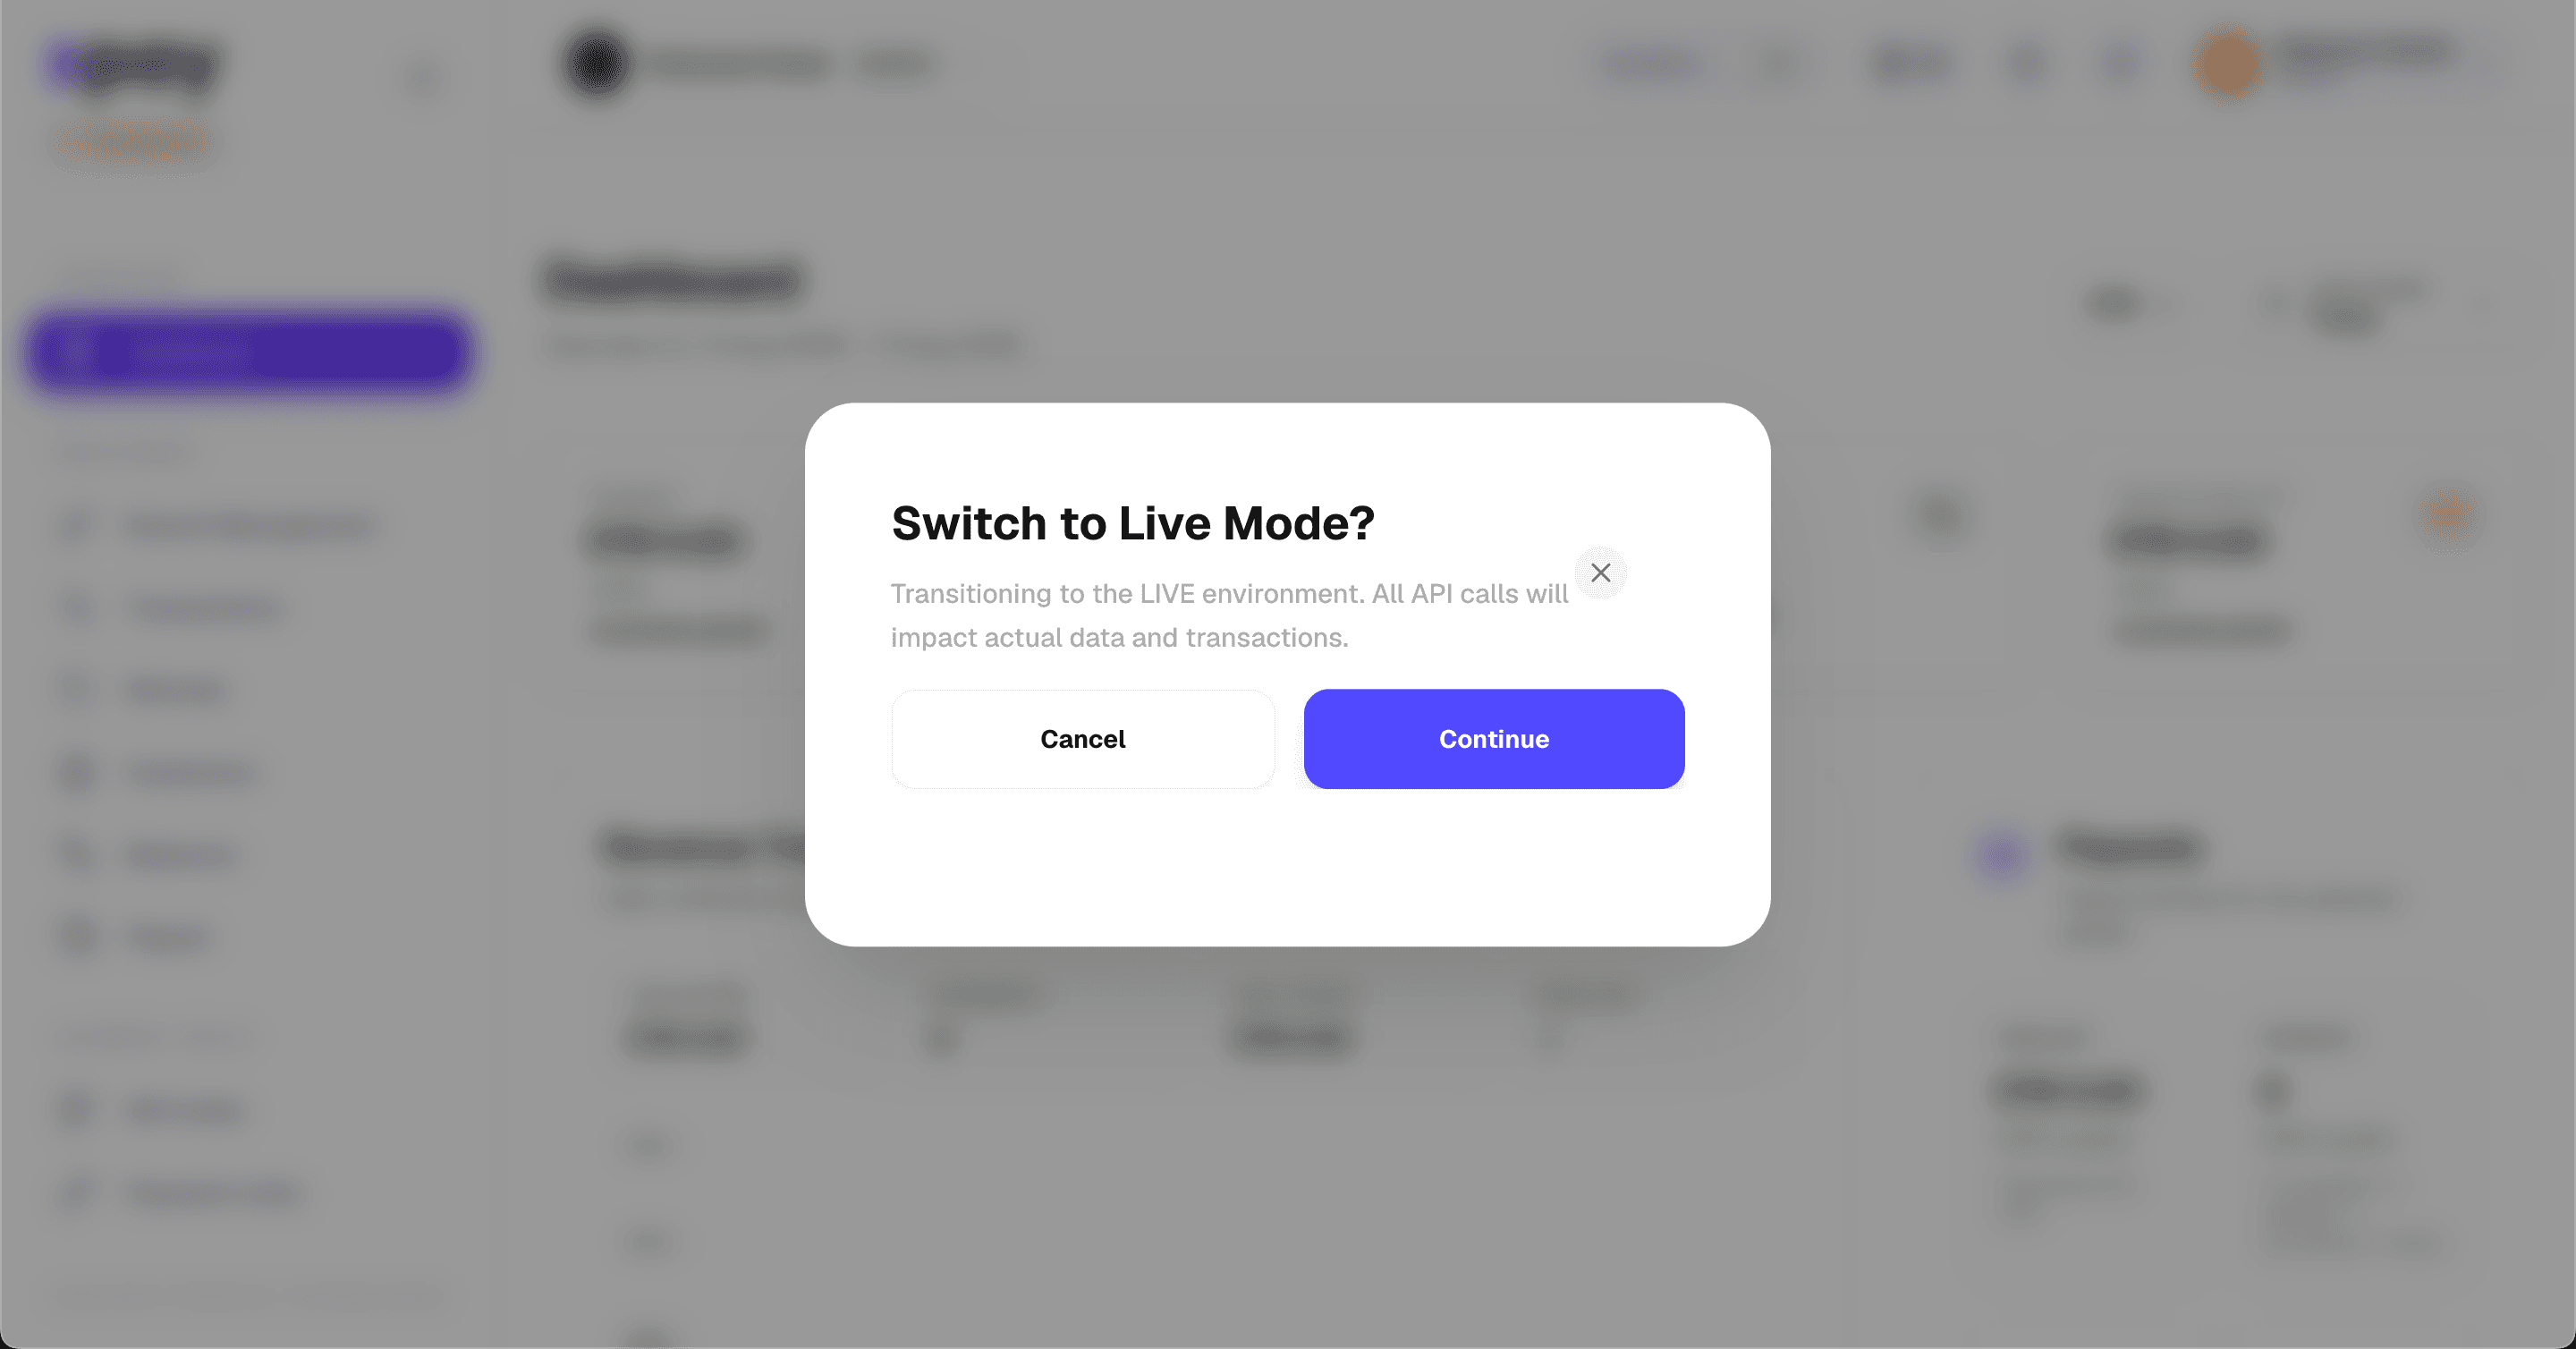
Create your account
Open the ePay merchant registration page and fill in your details:
- Full name
- Business name
- Email address
- Password
Submit the form to create your account. You will receive a confirmation email — verify your address before proceeding.
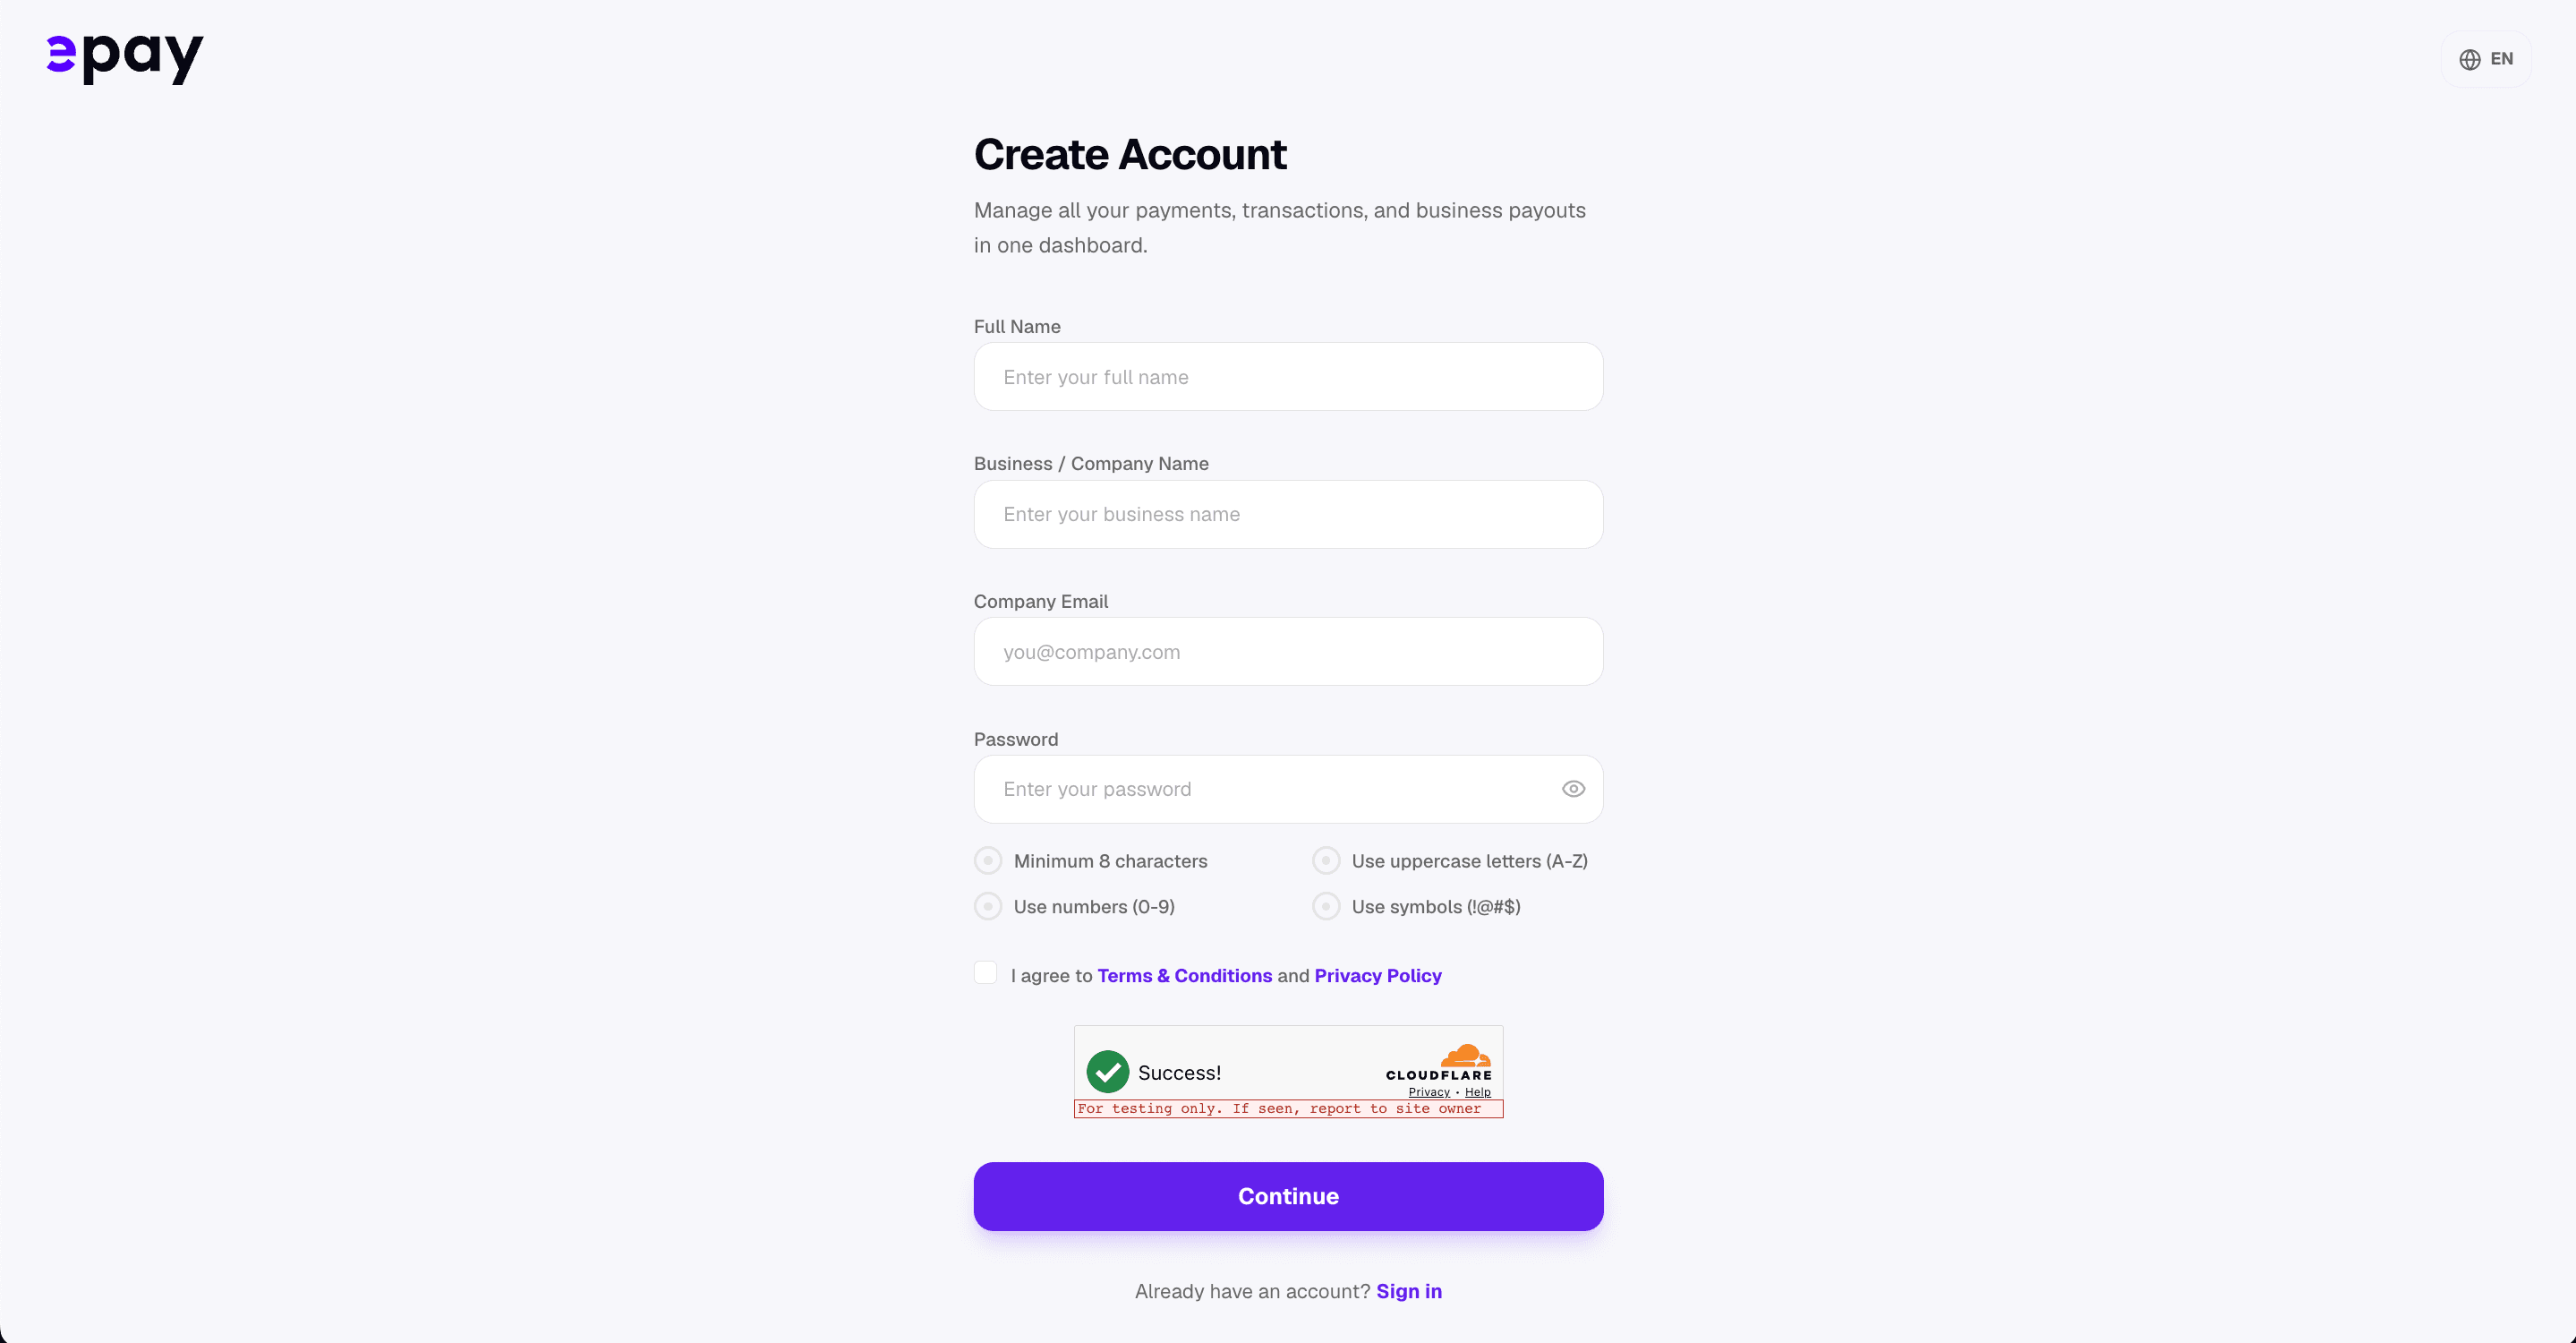
Navigate the dashboard
After logging in you'll land on the merchant dashboard. Key areas to know:
| Section | Where to find it | What it's for |
|---|---|---|
| Overview | Home | Transaction volume, recent activity, balance summary |
| Transactions | Sidebar → Transactions | View and search all payment records |
| API Keys | Developers → API Keys | Generate and manage your secret keys |
| Webhooks | Developers → Webhooks | Configure your callback URL and secret |
| Verification | Settings → Verification | Submit KYC documents to go live |
| IP Whitelist | Settings → IP Whitelist | Restrict API access to specific IPs |
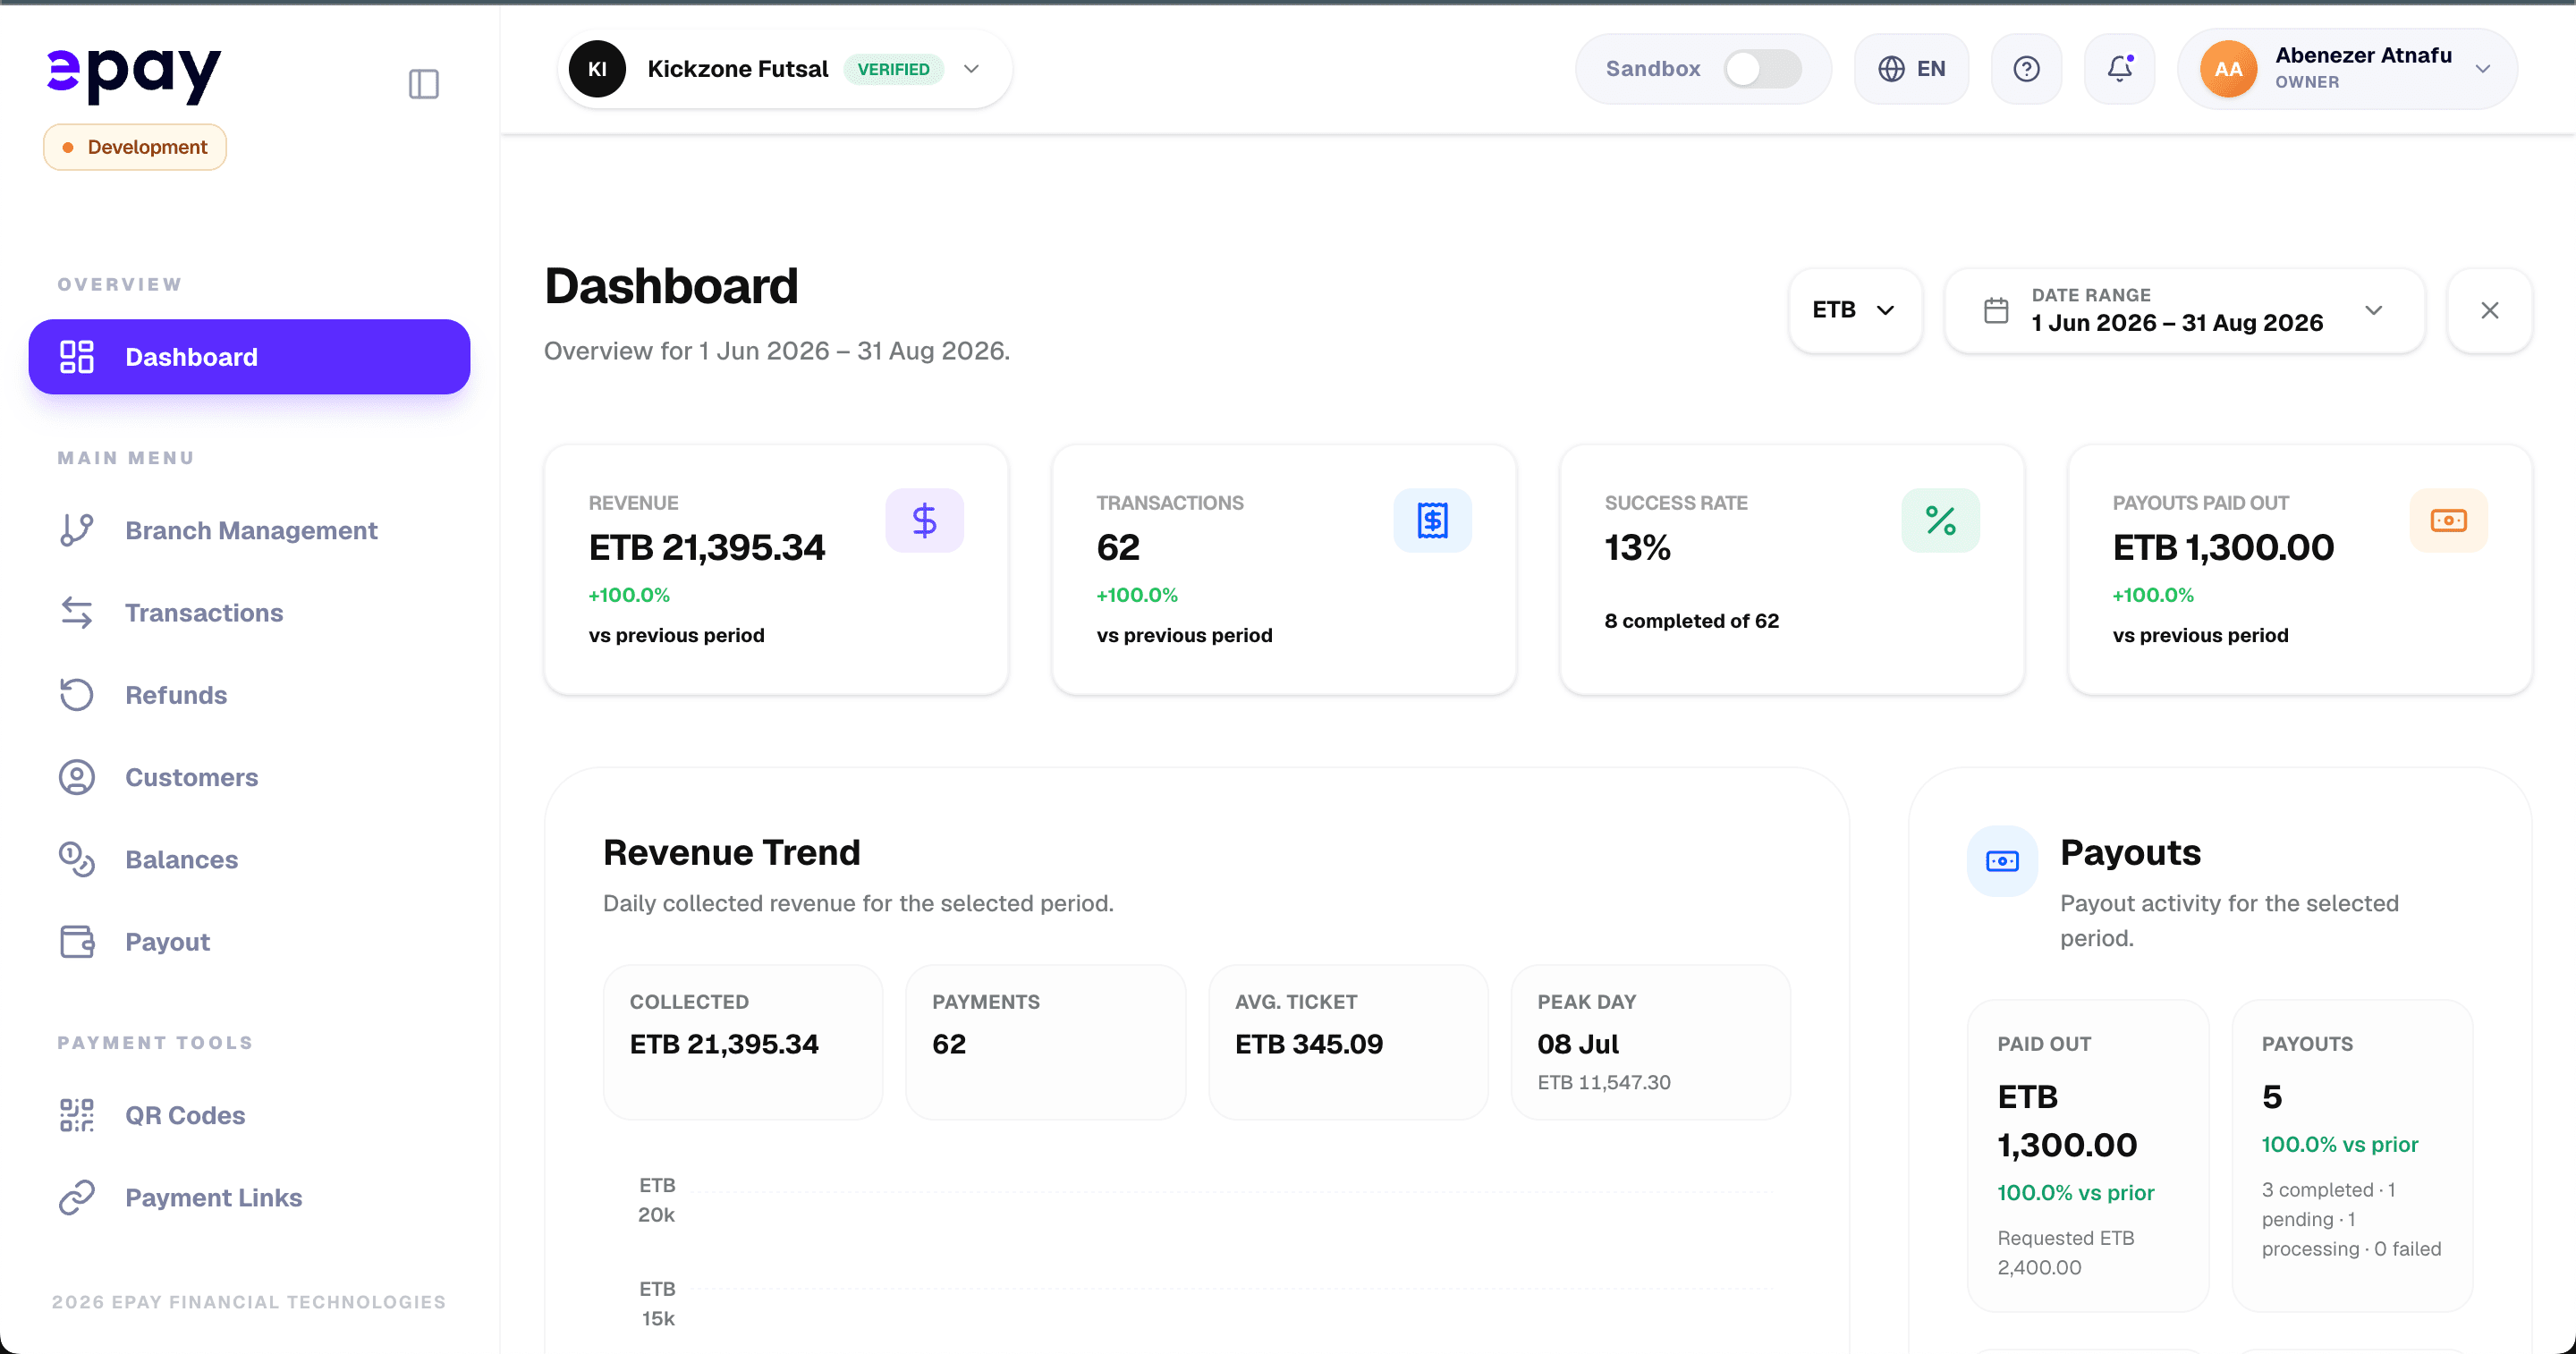
Obtain your API key
Navigate to Developers → API Keys and generate a new key.
You will receive two keys:
| Key | Prefix | Use |
|---|---|---|
| Test secret key | sk_test_… | Development and sandbox testing |
| Live secret key | sk_live_… | Production — keep this private |
Copy your secret key immediately — it is only shown once. If you lose it, generate a new one from the dashboard.
Integrate the API
Use your sk_test_… key to start building. The Getting Started guide walks you through your first request.
Key references:
Test your integration
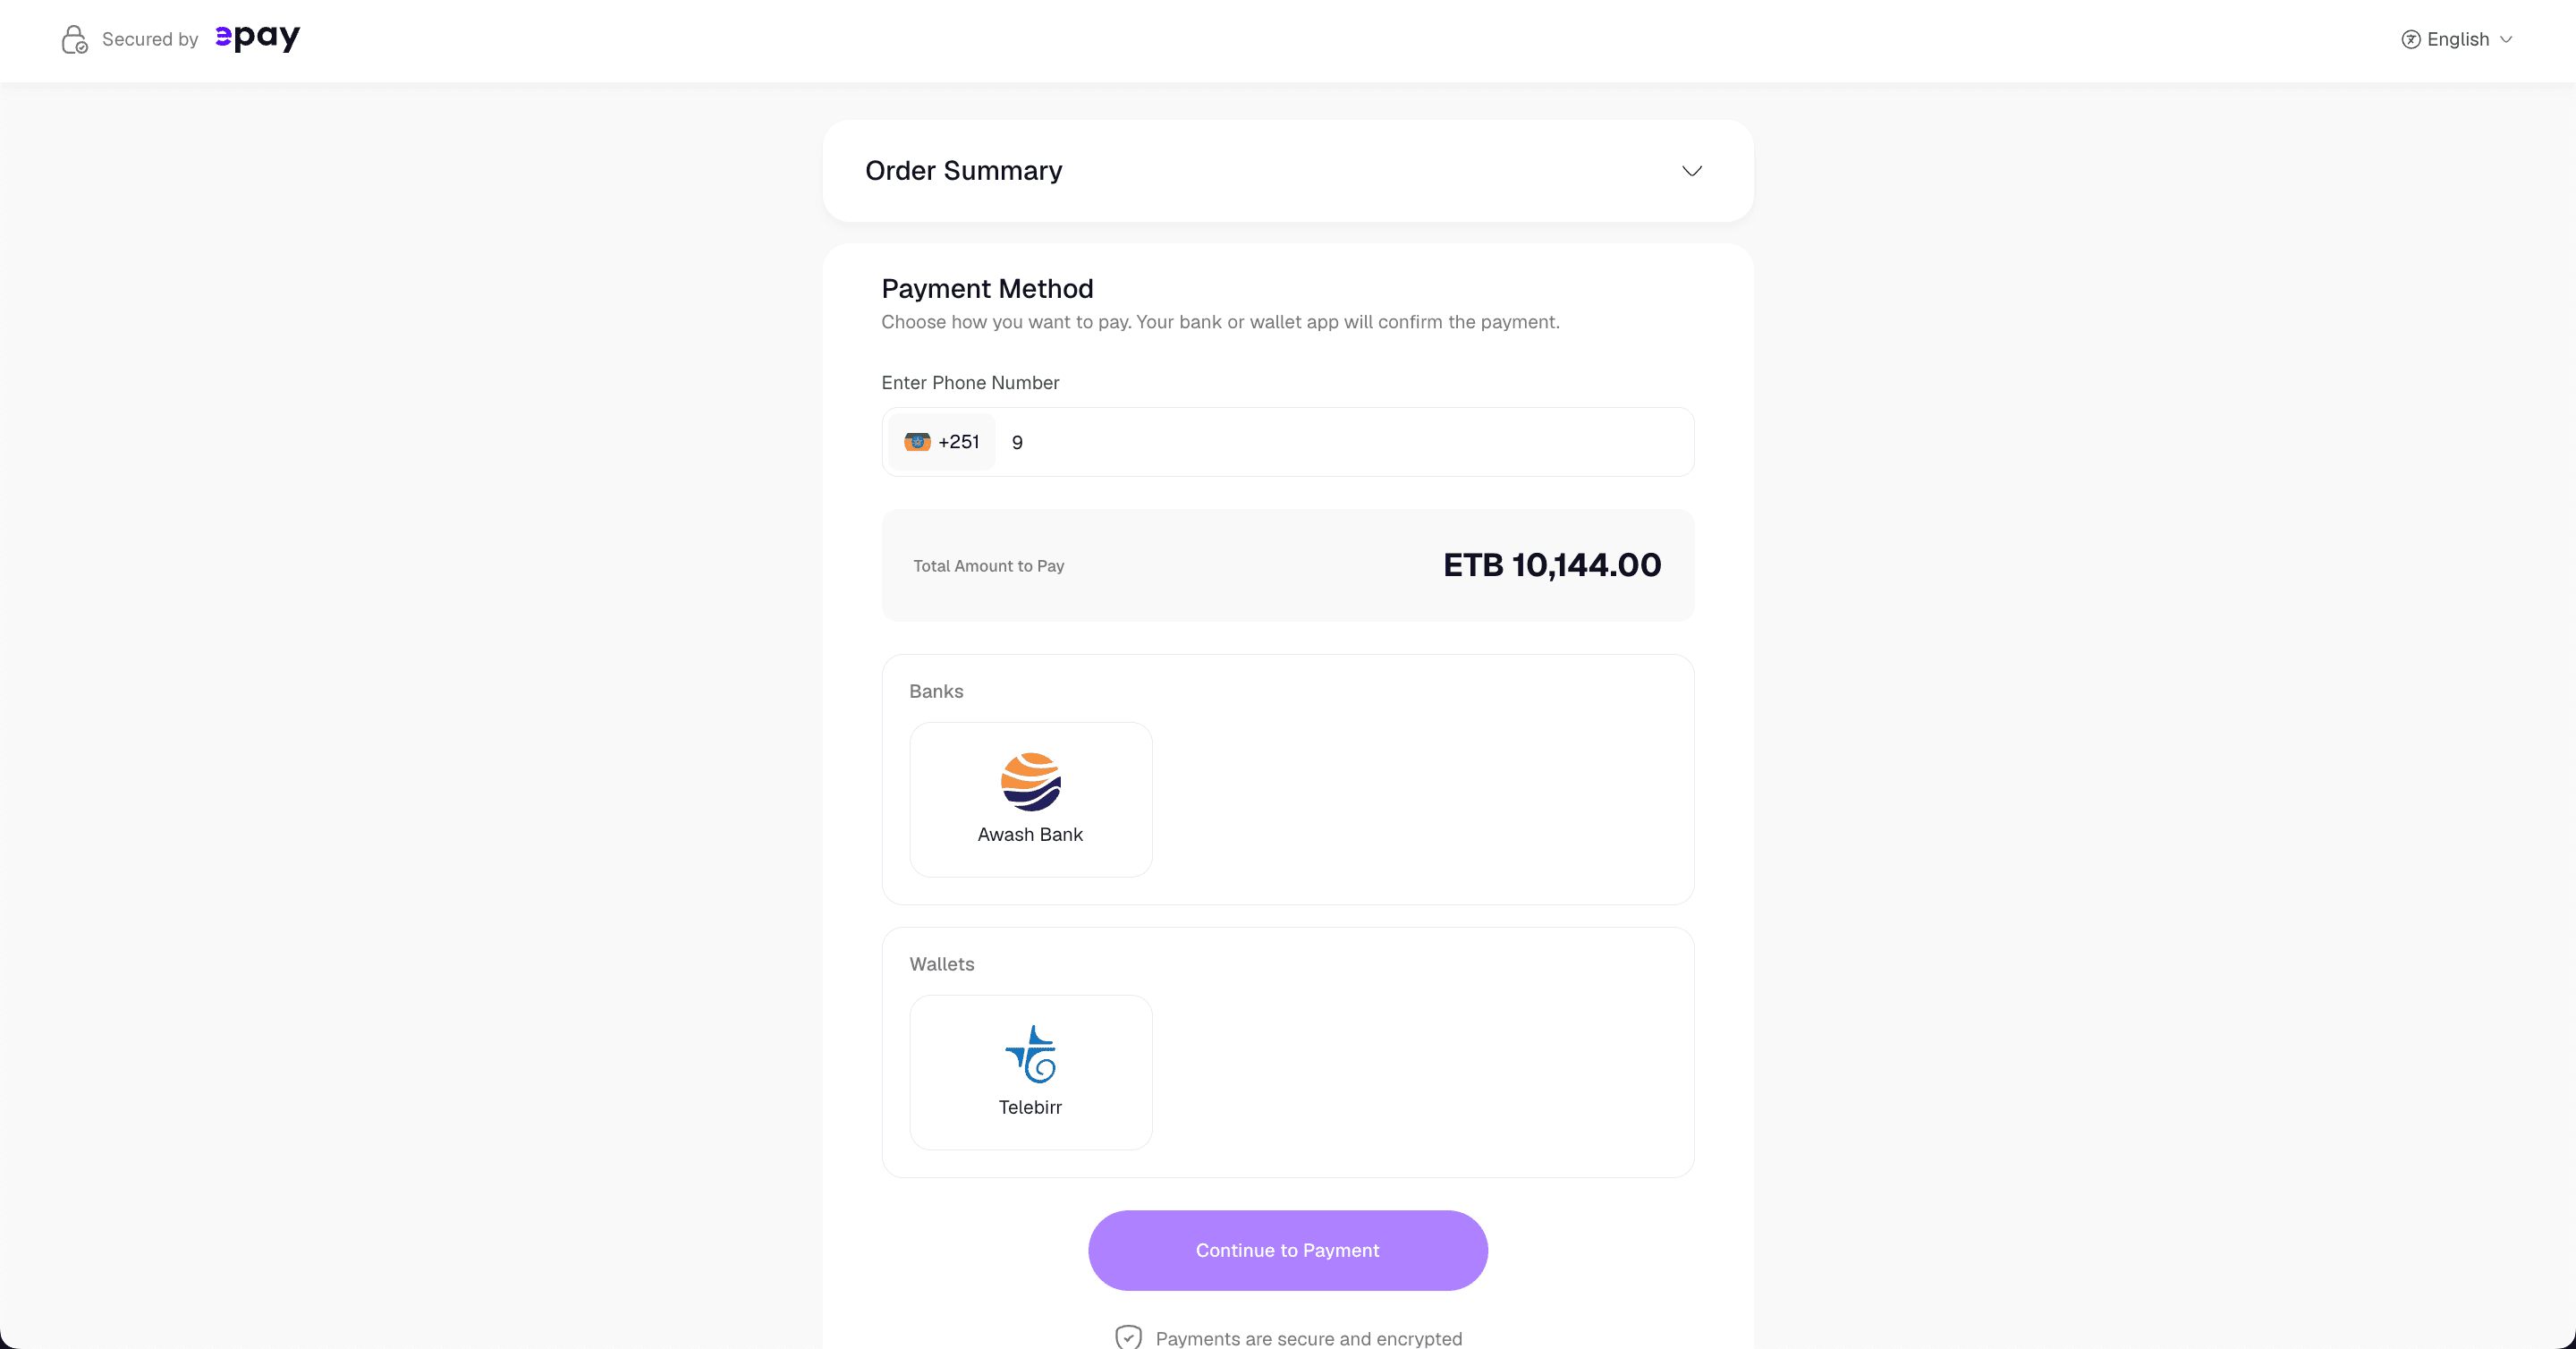
Run your full payment flow in sandbox mode. Test transactions do not move real money and behave identically to live ones — same endpoints, same response shapes, same webhook events.
Before moving on, confirm:
- Transactions initialize and return a
checkoutUrl - Your webhook endpoint receives and verifies
X-Epay-Signaturecorrectly - Your system handles
payment.success,payment.failed, andpayment.cancelledevents - Edge cases like cancellations and duplicate webhook deliveries are handled gracefully
Complete KYC to go live
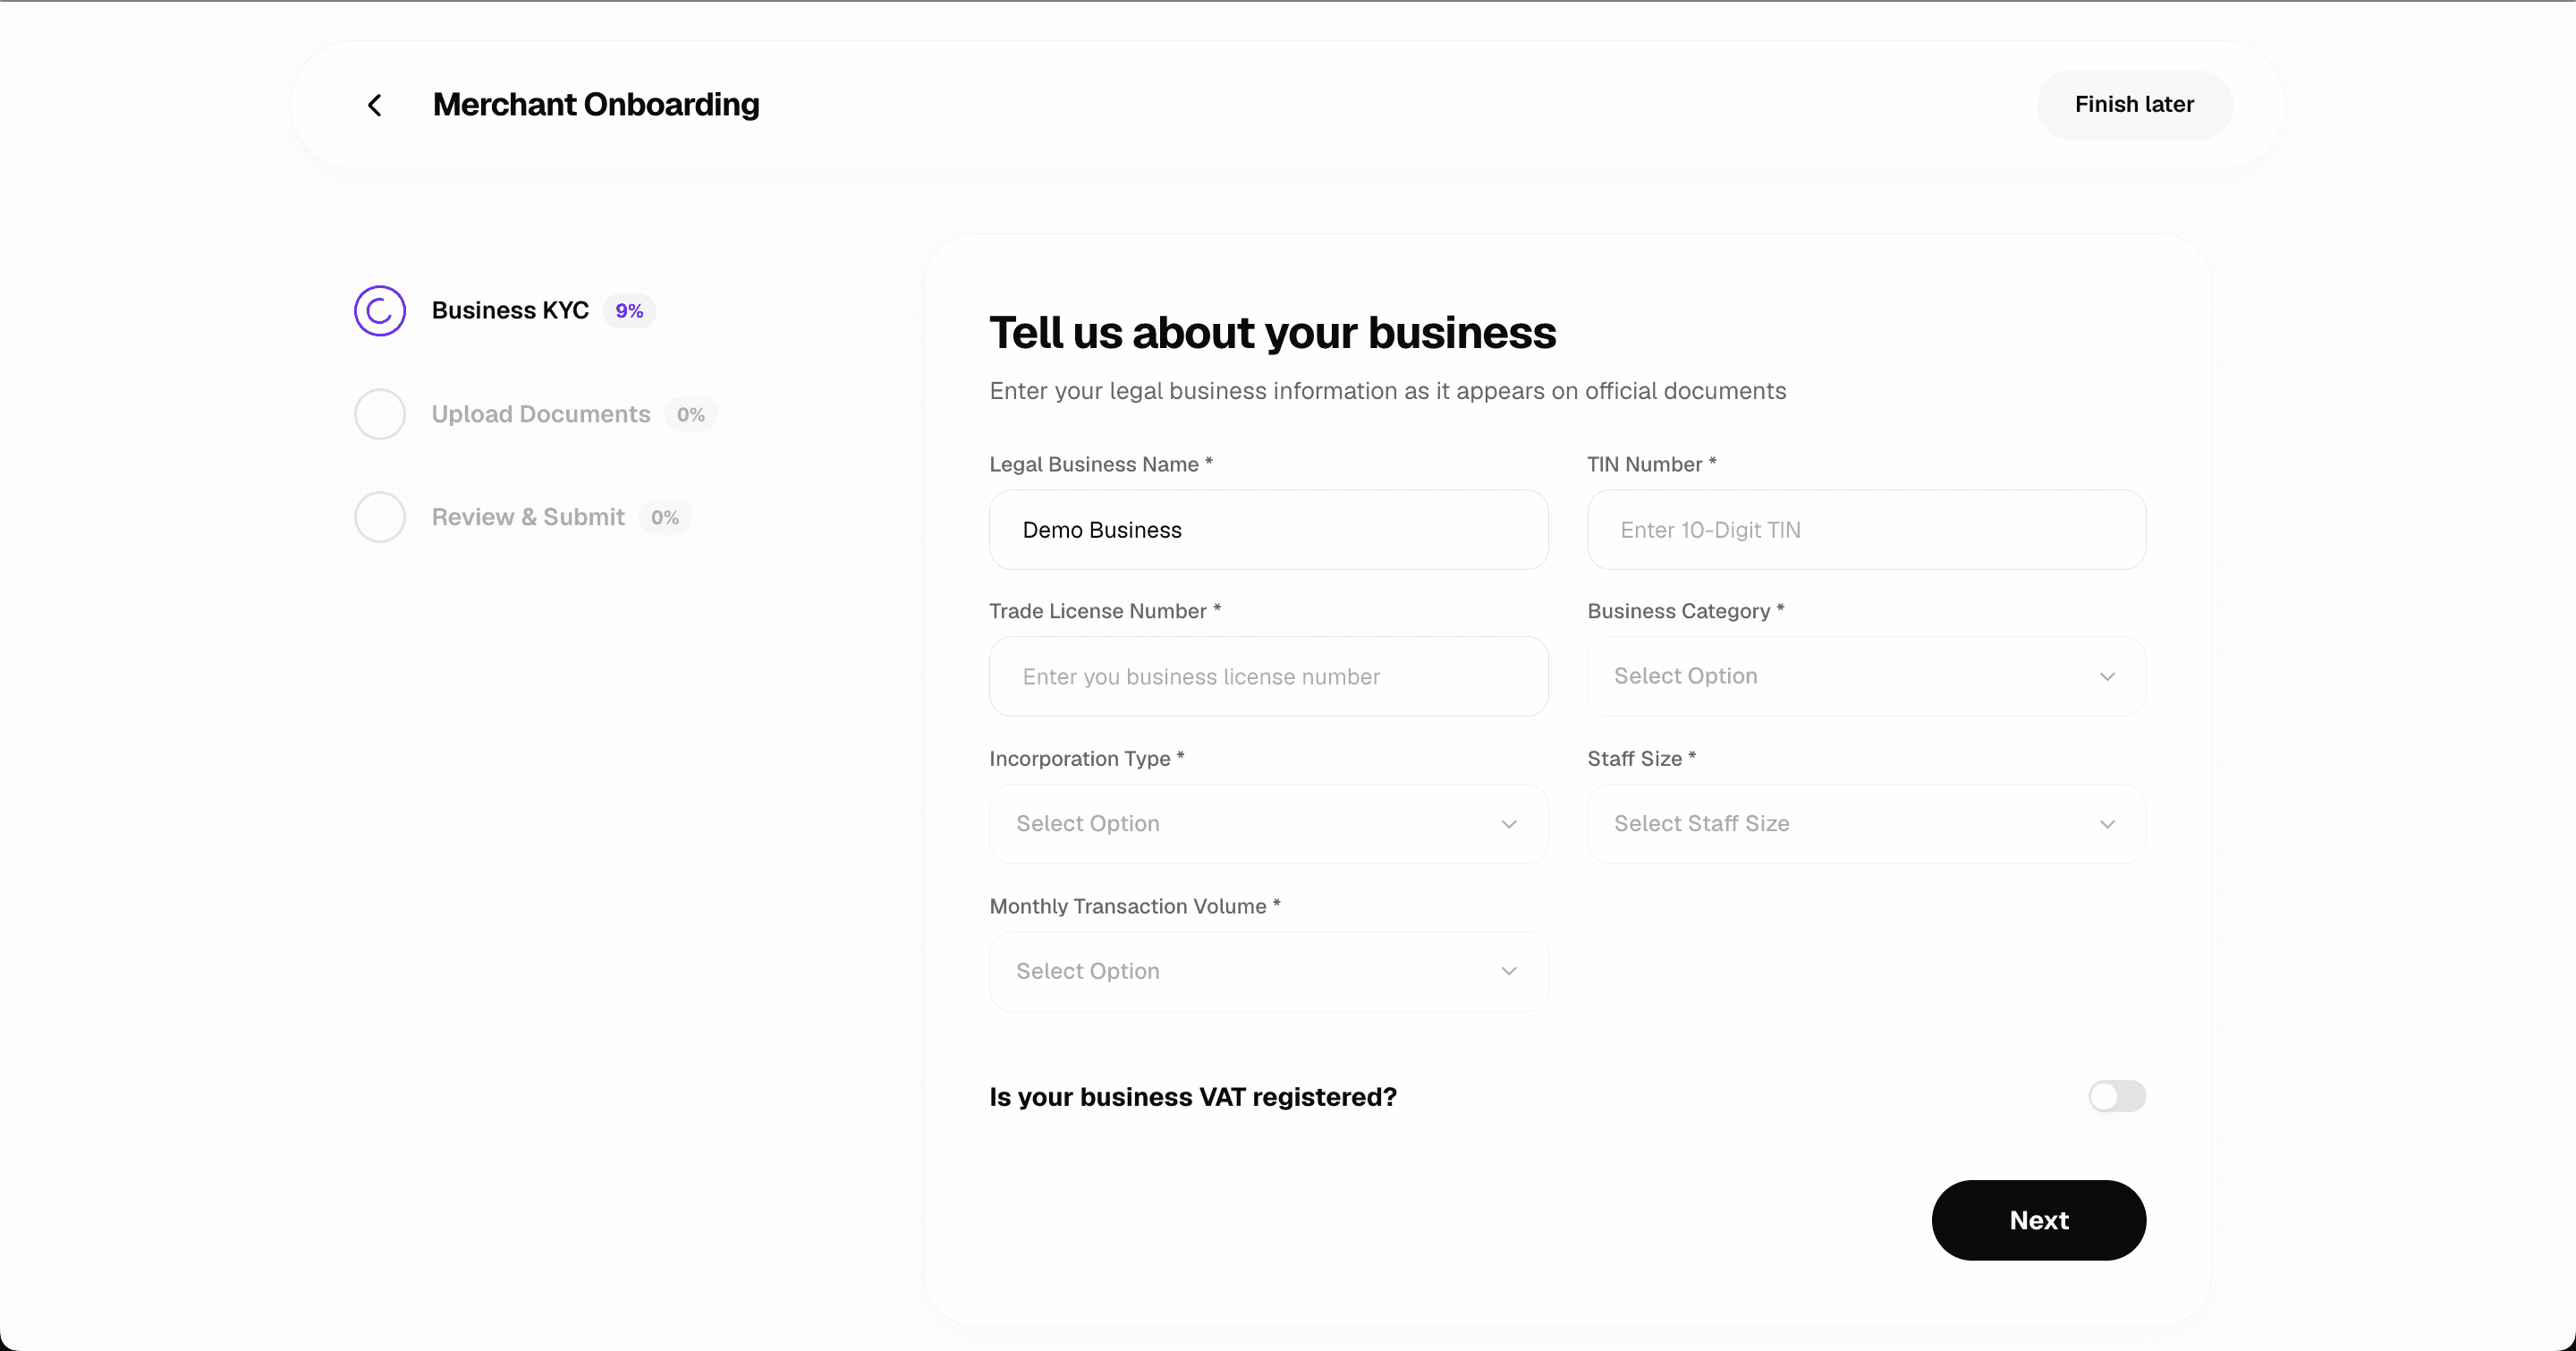
When your integration is ready, submit your KYC documents from the dashboard under Settings → Verification. Required documents typically include:
- Government-issued business registration certificate
- Owner national ID or passport
- Bank account details for settlement
ePay will review your submission and notify you by email. Review typically takes 1–3 business days.
Go live
Once KYC is approved, switch your integration to your sk_live_… key. No code changes are required — the API is identical between modes.
Run through the pre-launch security checklist before accepting real payments.